
It's freaking hot outside, I'm hibernating until October, and I have too much yarn lying around. So let's make some pompoms!
Why, you ask? Why not? Fun, fluffy, colorful pompoms are a perfect mindless summer project.
Plus, I just finally bought myself (and my box subscribers) the super fun Pom Maker, by, well, Pom Maker. 😃

Beautifully made, the Pom Maker contains six wooden pieces that all are storable in a nifty little canvas bag. The medium size is a donut, and it's way bigger than I expected. A happy surprise! Their other main size, a small, looks like a macaron.
So let's make a pompom!
Winding
First, you'll want to hold two of the half-circle pieces together, with the pegs facing out. Hold the end of your yarn down with your thumb until you get a few wraps going and it stays on its own.

Now wrap the heck outta the thing, making sure to stay within the pegs inside the arc of the pieces.
FLUFF FACTOR TIP: The more you wrap, the more dense it'll be in the end. BUT, that's also way more yarn that you're tying together, so you've gotta be ready to tie it off suuuuuper tight so the whole thing doesn't fall apart. Trial and error time.
Rinse and repeat.

Assembly
Once you're done with both sides, hold the two halves together to make a circle. Slide your donut icing down onto the pegs to hold everything together, and repeat on the other side.
Cutting time!
Holding your whole yarn sandwich together, take very sharp scissors and cut between the wood pieces, all the way around your circle. Your yarn sandwich will resemble a yo-yo in the middle. That's where you're going to tie everything together.

Very carefully, still holding things together with one hand, wrap twine (waxed twine or linen is great if you have it) between the "yo-yo halves" and tie off your pompom. I like to go around a couple of times and tie multiple knots as tightly as I possibly can.

The moment of truth
Now take off all of your wooden pieces. Voila! A pompom! Or a pom-pom. Pompon. Pom pom. You do you.

Left or Right Brain?
Now, at this point, you have a choice or two: fluff it between your hands and embrace it...

OR let that perfectionist in your take over and work on it some more...

Let's go down some rabbit trails together, shall we? Who's still with me?
Trimming
There are a couple of ways you can trim your pompoms. You can wing it and snip at all the longer pieces one at a time, until it's as round and smooth as you'd like.

Or you can find two round flat items around the house or craft room that are approximately the same size as your pompom when smashed flat. I often use large washers for this, but I didn't have any large enough for the donut Pom Maker. So I grabbed two tumbler lids and winged it.

Smash your pompom between the two round items and use them as cutting guides. Trim the yarn pieces around the circle, then fluff up the pompom. Turning it any-which-other-way you'd like, flatten and repeat. Do this three or four times, and you should end up with a much more rounded pompom. Now trim any stragglers and you're done!
Or are you?
Wanna go down the fluffing rabbit trail with me, too? Of course you do. Let's go.
Fluffing
Option 1: brushes, combs, etc.
You're basically wanting to brush out your yarn strands, separating any plies or individual fibers, depending on how your yarn is constructed. So grab a little brush or comb, and have at it.
A WORD OF CAUTION: Your pompom is essentially a bunch of short pieces of yarn, all tied together in the center. So I like to hold on tight to the center of the pompom while I'm brushing out the fibers of a section. You don't want to be so aggressive with your brushing that you start ripping pieces of yarn all the way out of the pompom. Work your way around the pompom, brushing or combing the fibers into a zillion little strands until it's relatively uniform all the way around. Trim any newly formed straggly pieces to keep the ball nice and round.
Still not happy? Girl, been there! Time for Option 2...
Option Number Two: the dryer!
Soak your pompoms in a little water, then toss them into the dryer. Now, don't go all crazy with this until you know the durability of your pompom and the force of your dryer.
If you have a mesh lingerie bag, it's nice to keep things all contained in one of those, so you're not picking pompoms out of your kid's jeans pocket later.
And keep things cool! You don't wanna throw that non-superwash wool pompom into the dryer... well, unless you WANT a felted ball in the end. Opt for a few minutes in the dryer on delicate and/or no heat, and see how it goes before turning up the dial.
Fluff your pompom between your hands a few times and trim/brush until your pompom is perfect, or your version thereof.
Now grab some more yarn and start again!

What to DO with these things once done?
Here are a few ideas...
- sew a pompom onto a hat or the ends of a scarf
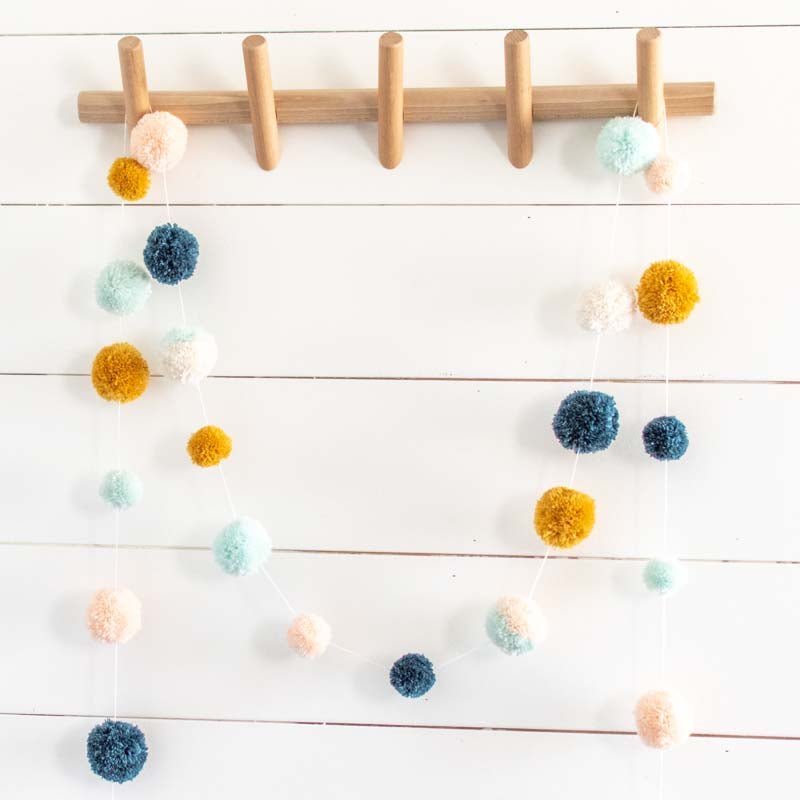
- string pompoms onto a string and use as a garland on the wall
- sew a boatload of pompoms all over the front of a throw pillow
- create a wall art piece, incorporating macrame or weaving, if you know how to do those, too.
- glue onto the ends of wire stems and place in a vase for a bouquet of pompom flowers. The options are endless. Show me what you come up with!
Other helpful pompom (pom-pom?) tips..
-
hold two or more strands of yarn together for quicker wrapping.
-
hold two or more COLORS of yarn together for a confetti look.
-
wrap each side with a different color for a color-blocked look
-
mix in a metallic yarn or embroidery floss for a sparkly pop or two
Now go have fun and make a bunch o' pompoms!
Thoroughly lost without a step-by-step visual? Check out my YouTube video... and don't judge... I'm a tad (ok, a lot) outta my element so far. 😬